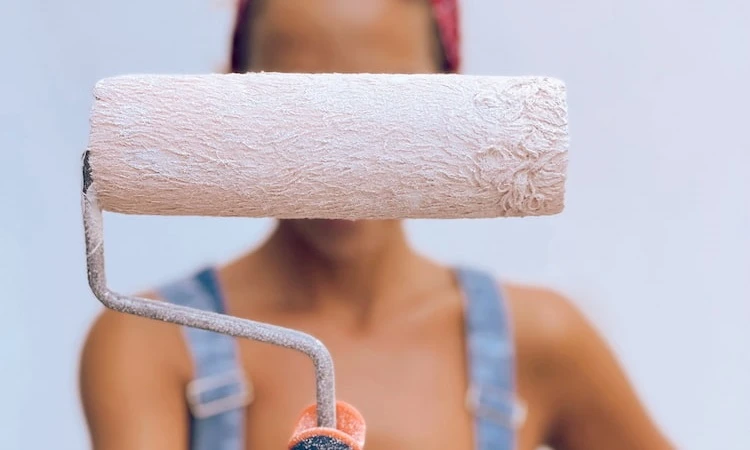
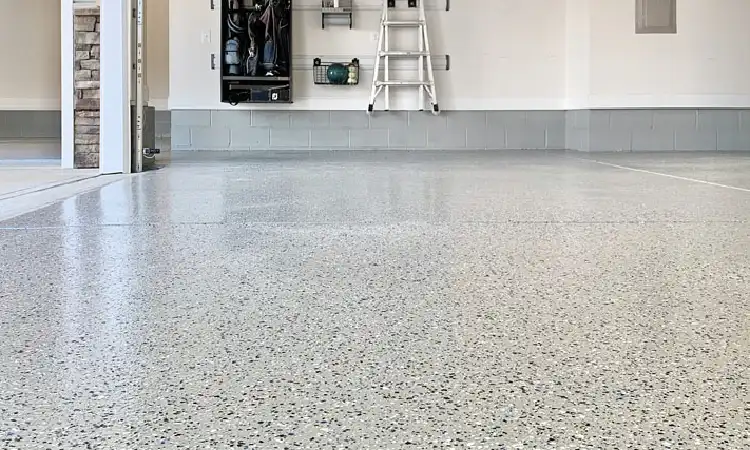
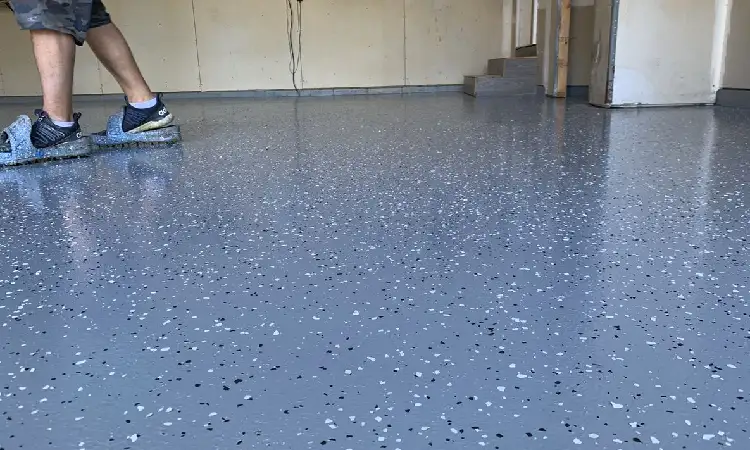
Epoxy floors are popular for many reasons. The coatings are easy to apply, highly resistant to most chemicals and acids, easy to maintain, sturdy, and possess aesthetic qualities.
Epoxy coating is a good option for your garage, driveways, shop, or warehouse floor to look beautiful.
Generally, epoxy paint can take between 48 to 72 hours to dry completely. The description may say that the product is ‘quick-drying,’ but it does take at least 48 hours before you can use your floor for good. The drying or curing time of epoxy coatings can be affected by temperature and humidity.
Some experts don’t consider the hardening of epoxy coating as ‘drying.’ They argue that ‘curing’ is the correct term for the process.
Whatever you want to call it, it is imperative to know when you can proceed to the next step after painting your floor with epoxy paint. Read on to learn more.
Does Epoxy Have to Be Dry Before Second Coat?
In dealing with paint coatings, it is a standard procedure to wait until the first coat dries up before applying another coat.
This step ensures that you are not messing up the initial coating. Does the same principle apply to epoxy coating?
You must understand that epoxy cures due to chemical reactions between its ingredients.
If you decide to paint your floor with epoxy coatings, you need to know that a single coat may not be enough.
Pouring an extremely thick epoxy on the floor may have some curing and hardening issues.
Therefore, if you want a thicker epoxy floor, you might need to apply a couple of coats for proper curing.
Otherwise, the epoxy might take a longer time to dry and cure. It will slow down your project when it happens.
You do not really need to wait for days before you can apply the next coat of epoxy paint.
You can pour the next layer when you notice that the first coat feels tacky (this can take up to 6 hours). However, some people still prefer to wait until the initial coating dries completely.
If you are one of the people who want to wait until the initial coat fully dries, you might need to consider sanding the initial coat before pouring the next.
Light sanding using 320-grit sandpaper will do. This process ensures that the surface is clear from imperfections before applying the next layer.
Epoxy Dry Time vs Cure time
At this point, I will talk about epoxy dying time in a slightly technical manner. New World Encyclopedia defines drying as the process of using heat to remove liquid from a material that contains the liquid.
The question is: Does epoxy contain a liquid? The answer is YES.
According to Science Direct, epoxy is a viscous liquid resin. Since it contains a liquid, does it mean that it dries?
Does it involve an actual drying process to harden? At least for me, it does because of the presence of the liquid resin.
On the other hand, scientists don’t seem to agree with this concept. They say ‘dying’ has nothing to do with the epoxy hardening.
Instead, they call the process of epoxy hardening ‘curing.’ The epoxy turns solid due to chemical reactions between the liquid resin and the hardener.
Quite interesting isn’t it? In other words, epoxy doesn’t dry; it cures. The curing of epoxy comes in stages.
Take a look at some of the terminologies related to the curing stages of epoxy that you might be interested to know below.
Pot Life
Pot Life includes the preparation and the application time. It is the amount of time you have to mix your ingredients and the time you spend spreading the epoxy on your floor.
This process could take up to 30 minutes.
Gel Time
Gel Time is the time it takes for the epoxy to thicken and cease to be sticky.
The gel time happens about 45 minutes after the pot life. You can touch the epoxy and feel it to confirm if the epoxy is at the Gel Time stage.
Green Cure
At this stage of epoxy curing, you can start removing the fixtures and braces. Others also call this “handling time.”
This curing stage is highly dependent on the hardener. It can occur at least 24 hours from the Gel Time stage.
Full Cure
The final stage of epoxy curing is the Full Cure. The chemical reaction of the ingredients s complete at this stage.
The epoxy has transitioned into a solid state. It becomes sturdy and ready for use.
You can begin your sanding at this stage to prepare the surface for the final coat.
The epoxy can appear dry after 48 to 7 hours. However, full curing can take more than that. It may take 7 days, even more.
Generally, epoxies cure best at temperatures of 70 degrees Fahrenheit and above. However, some products can cure in temperatures of as low as 35 degrees Fahrenheit.
As for humidity, epoxy cures best between 50 to 85% humidity.
How Do You Know When Epoxy Has Fully Cured?
First off, I will define again what a full cure means. The full curing of epoxy means that the bond of the epoxy resin and the hardener is complete.
It means that the chemical reaction of the molecules between the two ingredients is complete.
I talked about epoxy curing after at least 48 hours. I also talked about the chemical reaction that changes the epoxy into solid.
If I were to give advice, I would not rush the process. When I deal with projects that involve chemical curing, I always give it extra time.
Now, back to the question of how to know if epoxy has fully cured, below are the tips I can share.
- Ensure that 48 hours have passed (you can check after 24 hours (because on some occasions, it may cure faster). If you are not in a rush with your project, take more time before you proceed to the next step.
- Touch and feel the epoxy to see if it is no longer sticky. If it is still sticky, after 24 hours, you should be a little worried. It could mean that you may have not followed the manufacturer’s instructions. It could also be that the temperature and humidity levels are not suitable to dry the epoxy paint quickly.
- Do the fingernail test. Try denting the epoxy surface with the tip of your fingernail or any hard object, if it doesn’t penetrate anymore, it means it is at the full cure stage and is at optimal strength.
How Do You Speed Up Epoxy Drying?
If your floor project needs to complete soon, you might want to know how to speed up the drying or curing (I might be using these two terminologies interchangeably).
So, what can you do to speed up the curing process?
Well, there are not that many things you can do other than managing the temperature and humidity. The ambient temperature is critical during the curing stage of the epoxy.
The humidity level is another thing. See how you can control temperature and humidity in the following sections.
Elevate Temperature
The most effective way to speed up the curing of your epoxy coating is to level up the ambient temperature.
Ensure that you expose your epoxy to a temperature of at least 70 degrees Fahrenheit. But how can you do that? What can you use to increase the temperature?
You can install a heat lamp in the room to help you increase the temperature. You can use a standard thermometer to measure the temperature to see if it is ideal for epoxy curing.
Alternatively, your smartphone may also feature a temperature checker.
Another way to increase the temperature is to use a thermostat-controlled heat box. With this device, you can accurately control and maintain room temperature.
It is important to maintain the room temperate level at the ideal level for at least 24 hours to ensure that epoxy curing is faster.
Monitor Humidity Level
Humidity levels affect epoxy curing. If too much moisture is present in the room, there is a tendency that the curing will be longer.

On the other hand, if the moisture level is low, the curing stage could be shorter.
The ideal humidity level for faster epoxy curing is between 50 and 85%.
There are a few things you can control to alter the humidity level, including running a dehumidifier, using exhaust fans, and opening/closing windows.
There is no need to purchase a hygrometer if you don’t have it. Your smartphone can help you with that.
A Few More Tips
Below are a few more tips I want to give you to ensure that your epoxy cures a little quickly:
- Always follow the manufacturer’s manual in terms of the mixture ratio. If the manual says the ratio is 1:1, do it. I tried breaking the instructions when I had to fix my car bumper. Guess what, it failed.
- Don’t go out of the parameter by adding more hardener thinking that it will help speed up the drying – it is not true. The chemical reaction will be altered, and your epoxy could take forever to cure.
- Do not incorporate other ingredients such as solvents. It damages your epoxy coating. I know that the idea of adding solvents to epoxy paint sounds crazy. However, some people have committed such mistakes. I’ve heard some people adding lacquer thinners. If you do that, all I can say is Good luck!
- Select the top brands of quick-drying products if you can afford them. Sometimes we are very protective of our budget and we go with the cheapest product we can get. Trust me, it doesn’t work all the time.
- Do your project during the daytime when the temperature is at its peak. If you do not have time to do it yourself because you work during the day, get someone else to do it for you.
- Don’t mix up different brands of products. Mixing products from different manufacturers may not always work. Your epoxy resin must have a dedicated hardener. Stick with that hardener to ensure that the chemical reaction happens and the coating hardens.
- Apply epoxy paint in multiple coatings. Applying a single thick coating is not always the best way. Experts always suggest applying multiple coatings when you are painting. The thicker your coat is, the longer it takes to cure. Best results always come from multiple thin coats.
Why is My Epoxy Paint Not Drying?
If your epoxy is not drying, then it is either a problem with the preparation or due to inappropriate temperature and humidity levels.
I will repeat that you must follow the package instruction. Epoxy cans should have clear instructions about the mixing ratio.
Overmixing or under-mixing ingredients will cause the epoxy to fail. If you don’t follow the manufacturer’s specifications, the chemical reactions between the resin and the hardener may not occur.
Therefore, your epoxy floor coating will fail.
Very low temperature can also be the culprit why your epoxy takes time to dry. Get one of those heat lamps or thermostat-controlled heat boxes.
Ensure to maintain the temperature level at all times. After 24 hours, temperature levels may no longer be that critical.
Another reason why your epoxy is not drying fast is too much or less humidity level. Many things can help you control humidity.
These include turning on your air conditioner, ensuring good ventilation, taking cooler showers, turning on your fans, and getting a dehumidifier.
What Temperature Does Epoxy Need to Cure?
You may have read in the previous sections already that the ideal temperature should be at least seventy degrees Fahrenheit.
However, I will advise you to check the product descriptions. Some products may not require such a level of temperature to cure.
However, it is best if you can ensure that the temperature is at least seventy degrees Fahrenheit.
If your product indicates that it can cure at a lower temperature level, don’t settle. You already know some techniques to increase the temperature.
Top 3 Quick Dry Epoxy Paints
Here, I will present three of the top quick-drying epoxy paints today.
1. J-B Weld UV Tabletop Epoxy Resin
J-B Weld is an infamous American company that specializes in weld products to help people pull off projects like your floor coating.

This product offering provides a strong 1:1 mix ratio of a non-yellowing crystal-clear epoxy. J-B Weld UltraRez is also effective in resisting scratches, heat, and impact.
This product boasts its 5 to 6 hours dry-to-touch time and its 24 hours full cure time.
You can use it for various projects such as tabletops, bar tops, counters, and of course, floor.
You can use the J-B Weld UltraRez on wood, resin molds, encapsulation projects, and others.
The manufacturer indicates the temperature and humidity level requirement is 75 degrees Fahrenheit and 60%, respectively.
Many users confirm that the product cures in 24 hours. On top of that, they also report that they did not notice bubbles during the application. On the other hand, a few other users mention the strong but bearable smell.
Because the product delivers the performance it promises, users think that the price is worth it.
As for me, I would be willing to pay the price if I know that the product is good and can be trusted.
2. KILZ 1-Part Epoxy Acrylic Concrete and Garage Floor Paint
This probably is one of the best concrete floor paint within its price range.

It is highly durable and resists scuff, fade, crack, and heavy activities.
The KILZ 1-Part Epoxy Acrylic Concrete and Garage Floor Paint can also resist damage from chemicals, oil, and gasoline. This paint will be perfect for your garage flooring.
One of the advantages of this product is its capability to cover a large surface area.
One gallon of the paint can cover up to 500 square feet. As this epoxy paint is not very expensive, you can apply 3 or even more coats for better results. The more coats you apply, the more durable the paint becomes.
If you use this product, you don’t have to wait long hours as it has a dry-to-touch performance of 2 hours.
Since it dries quickly, you can begin your next layer in 4 hours from the initial coat.
3. Rust-Oleum 261845 EpoxyShield Garage Floor Coating
Rust-Oleum is almost a household name when you talk about paints.

It is no wonder that the Rust-Oleum 261845 EpoxyShield Garage Floor Coating is part of my list.
This product will give you a super thick and sturdy protective surface.
A gallon of this product can cover up to 500 square feet of flooring. I suggest you apply a couple more coats if it allows you to do it to ensure a good finish.
Because of the product’s strength, it is ideal for your garage and driveways. Your floor should be ready to walk in just 72 hours from the application.
The manufacturer asks that you strictly follow the preparation instructions to ensure that the product will work as intended.
The preparation time of the product may take longer than other epoxy paints and you will need to prepare the surface by scrubbing and cleaning it.
The Rust-Oleum 261845 EpoxyShield Garage Floor Coating is a clear good option if you are looking for a durable and long-lasting floor coating.
If you aren’t confident with the application, you can always hire an expert.
Verdict
Painting your garage, driveway, or any floor is an important project. You need to choose the right product that suits your preferences.
Epoxy paint is one, if not the best option for your floor coatings. However, you must understand how it works.
Epoxy paint generally dries in 48 to 72 hours, but the full cure time of the epoxy could take 7 days or more.
The epoxy paint does not necessarily dry when it turns solid.
The process is called “curing,” and it has a few stages including pot life, gel time, green cure, and full cure.
The KILZ 1-Part Epoxy Acrylic Concrete and Garage Floor Paint is an affordable option for floor paint. You don’t pay much, but you get many benefits.
The paint is highly resistant to scuff, cracks, chemicals, oil, and gasoline. Additionally, it can cover up to 500 square feet.